Epoxy and other surface overlays have transformed the way Singapore renovates, offering faster, cleaner, and more affordable upgrades. Epoxy overlays can be applied on most firm and solid surfaces, including tricky ones like ceramic and glass. While incredibly versatile, there are some surfaces that simply aren’t suitable for overlaying.
In this guide, we break down where overlays can’t (or shouldn’t) be applied, and why, so you can plan your renovation with realistic expectations.
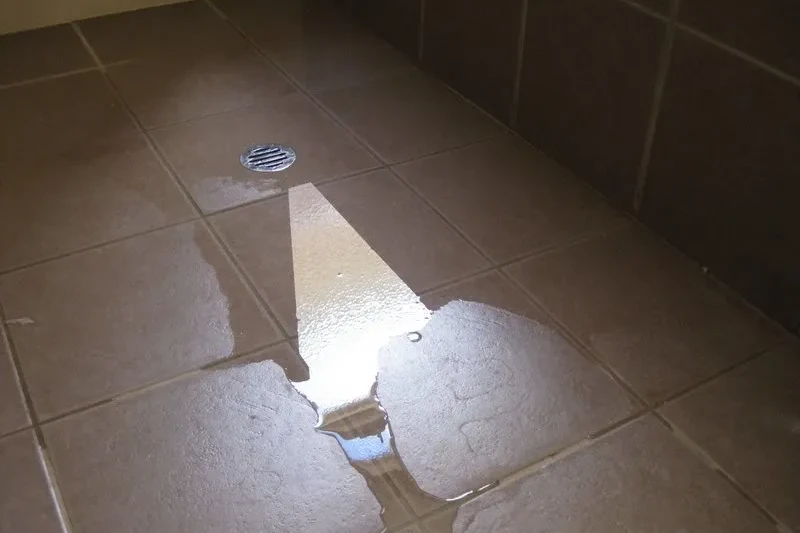
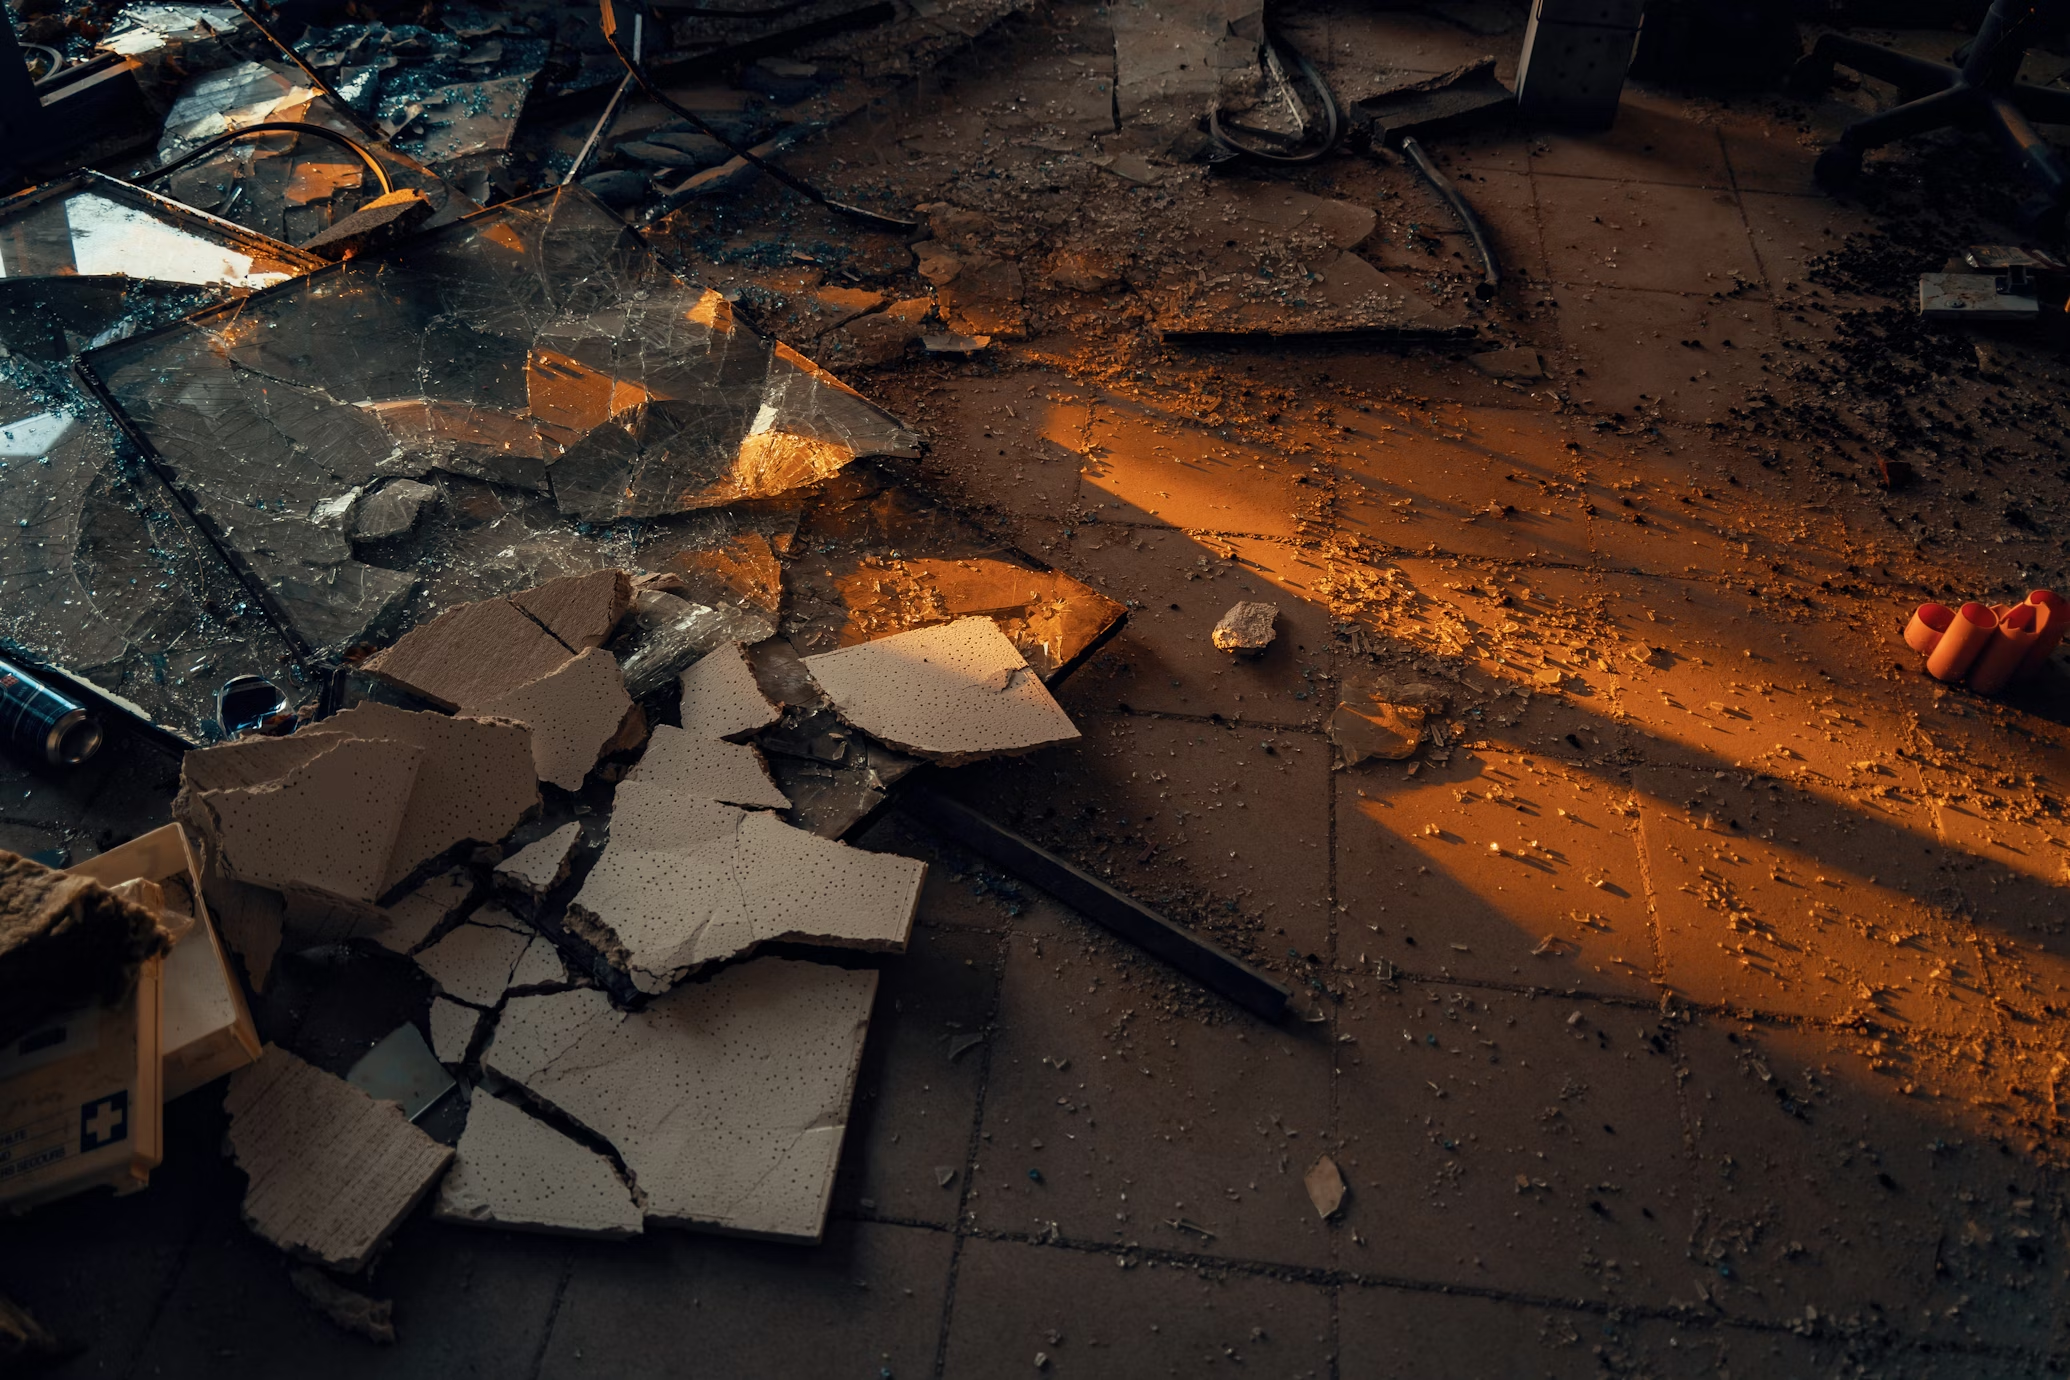
1. Uneven or Severely Damaged Floors
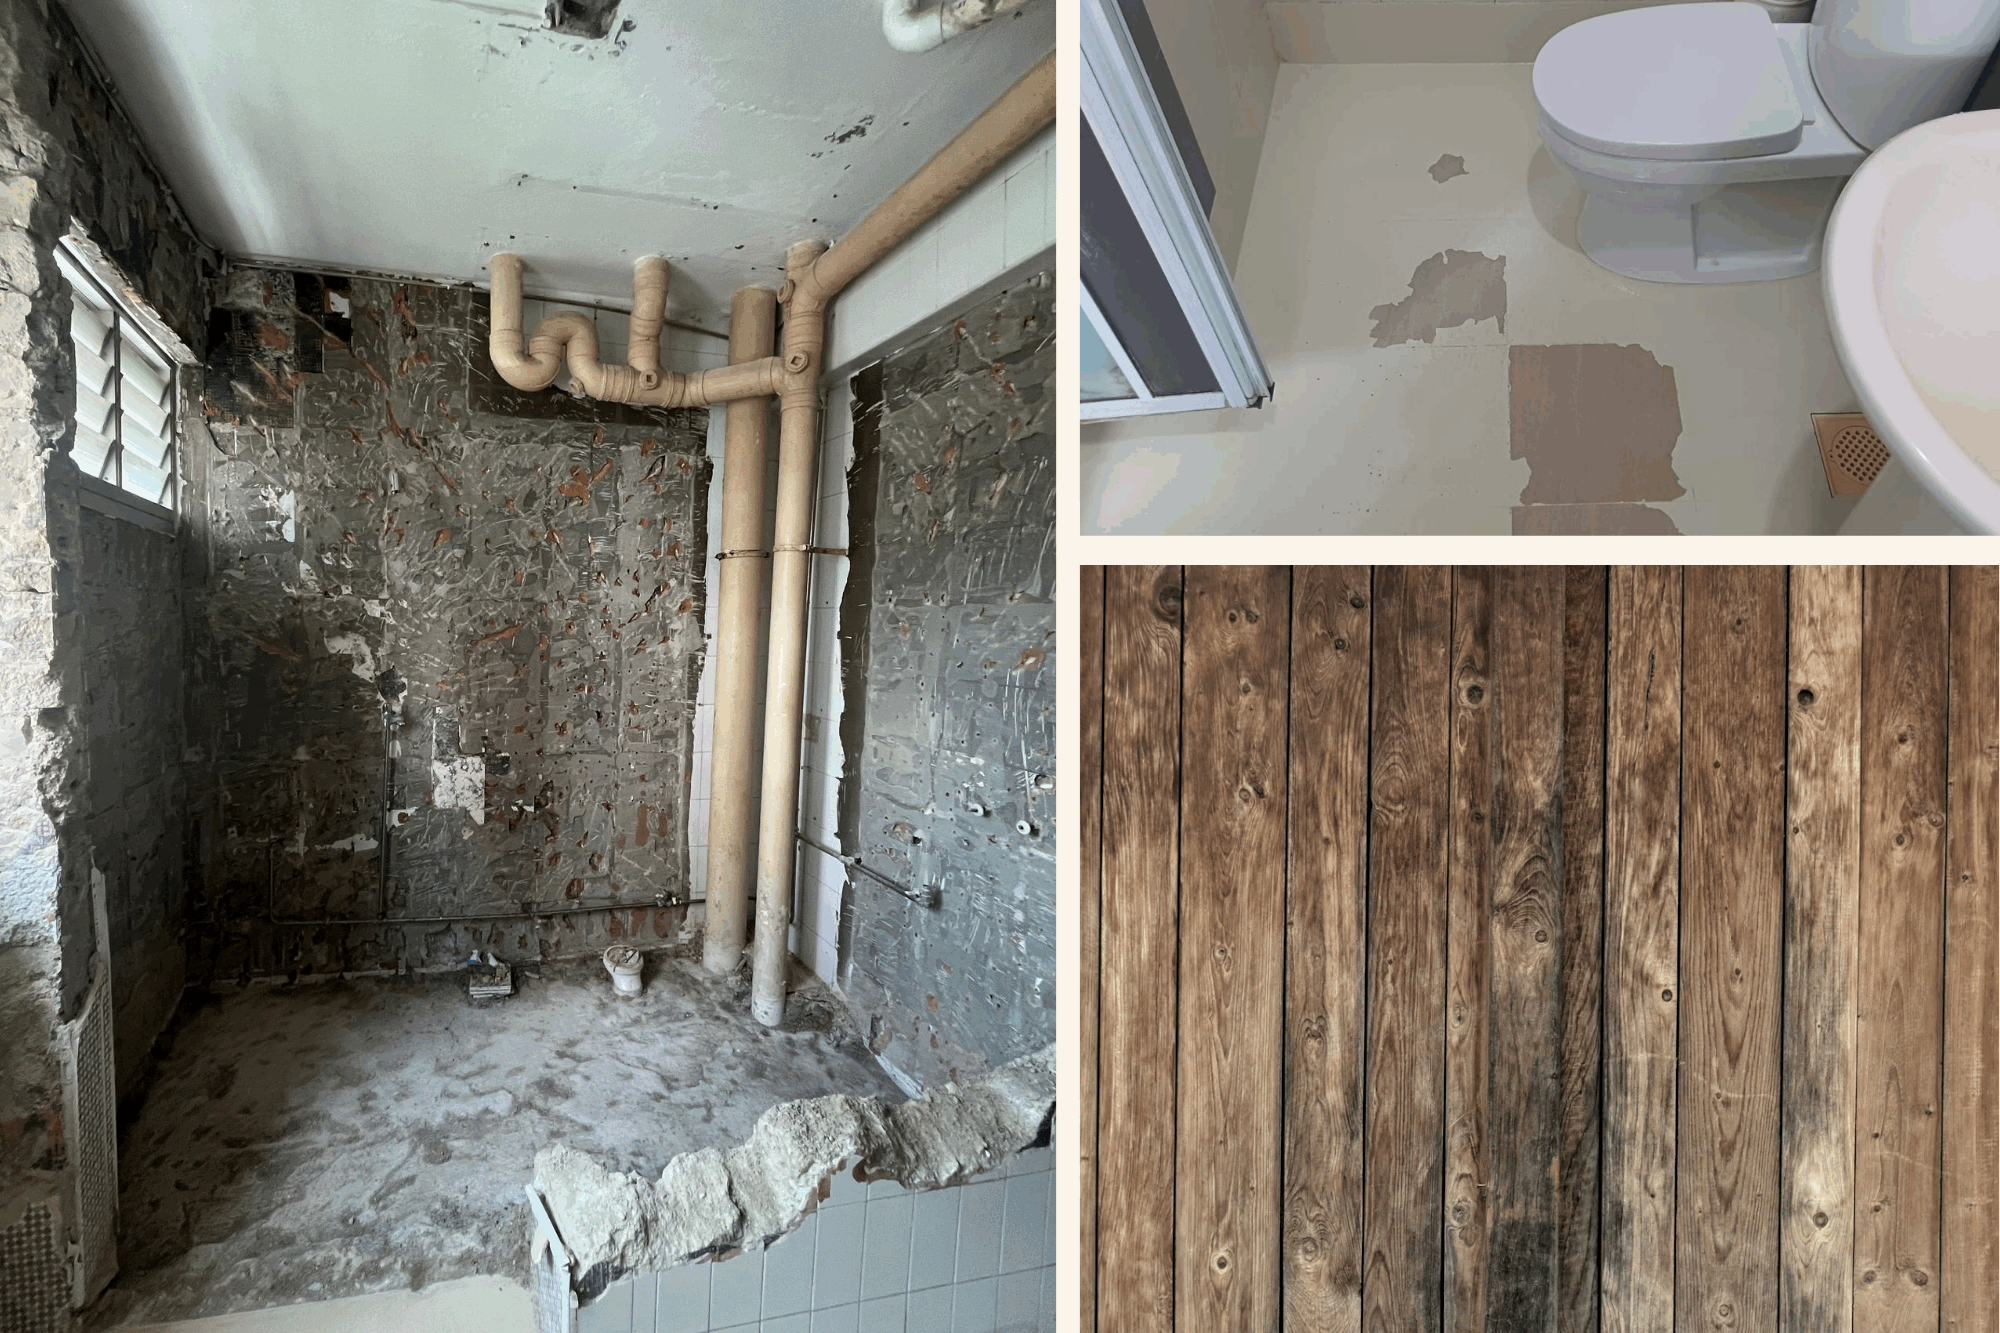
Epoxy overlays need a flat and stable base to bond properly. If your existing flooring is:
- Uneven or Unscreeded
- The surface is coming out loose
- Heavily Worn or Damaged
2. Wood Flooring/Vinyl
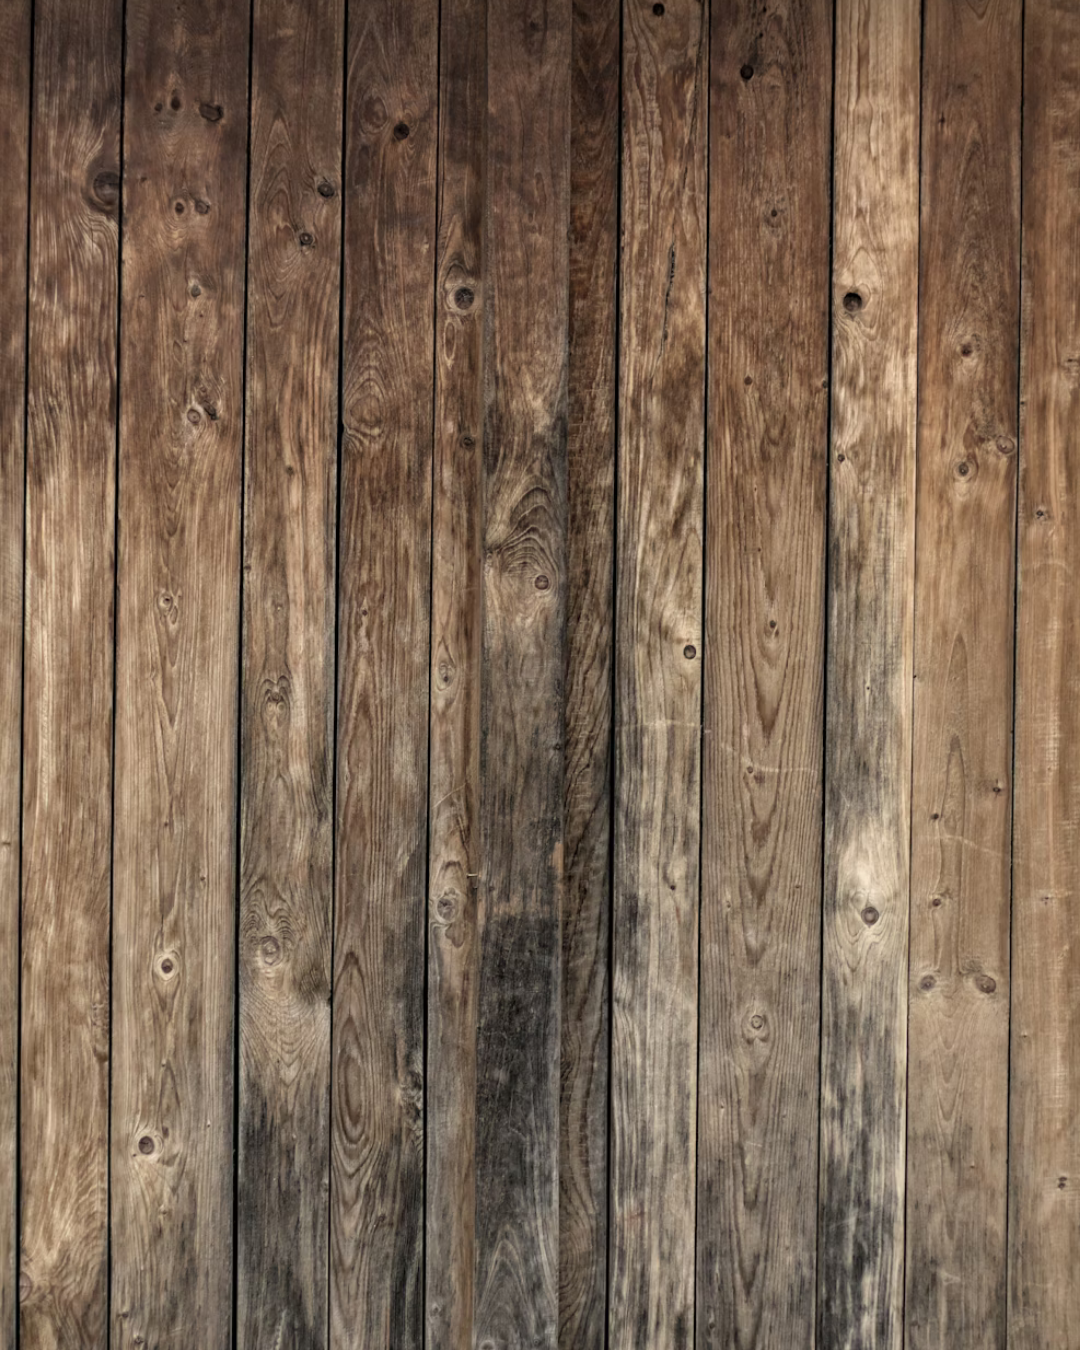
Natural wood expands and contracts especially in wet areas where moisture can be absorbed easily.
Commonly seen Vinyl and parquet floors consist of individual pieces joined together, allowing slight movement as they expand and contract with temperature and humidity changes. These joints and natural flexibility cause shifting, which can make epoxy overlays crack or lift since epoxy requires a solid, stable surface without movement.
However, in dry areas with minimal moisture absorption, applying an overlay on top may still be possible.
✅ Reality Check: Removal or subfloor preparation is usually needed.
3. Painted Surfaces
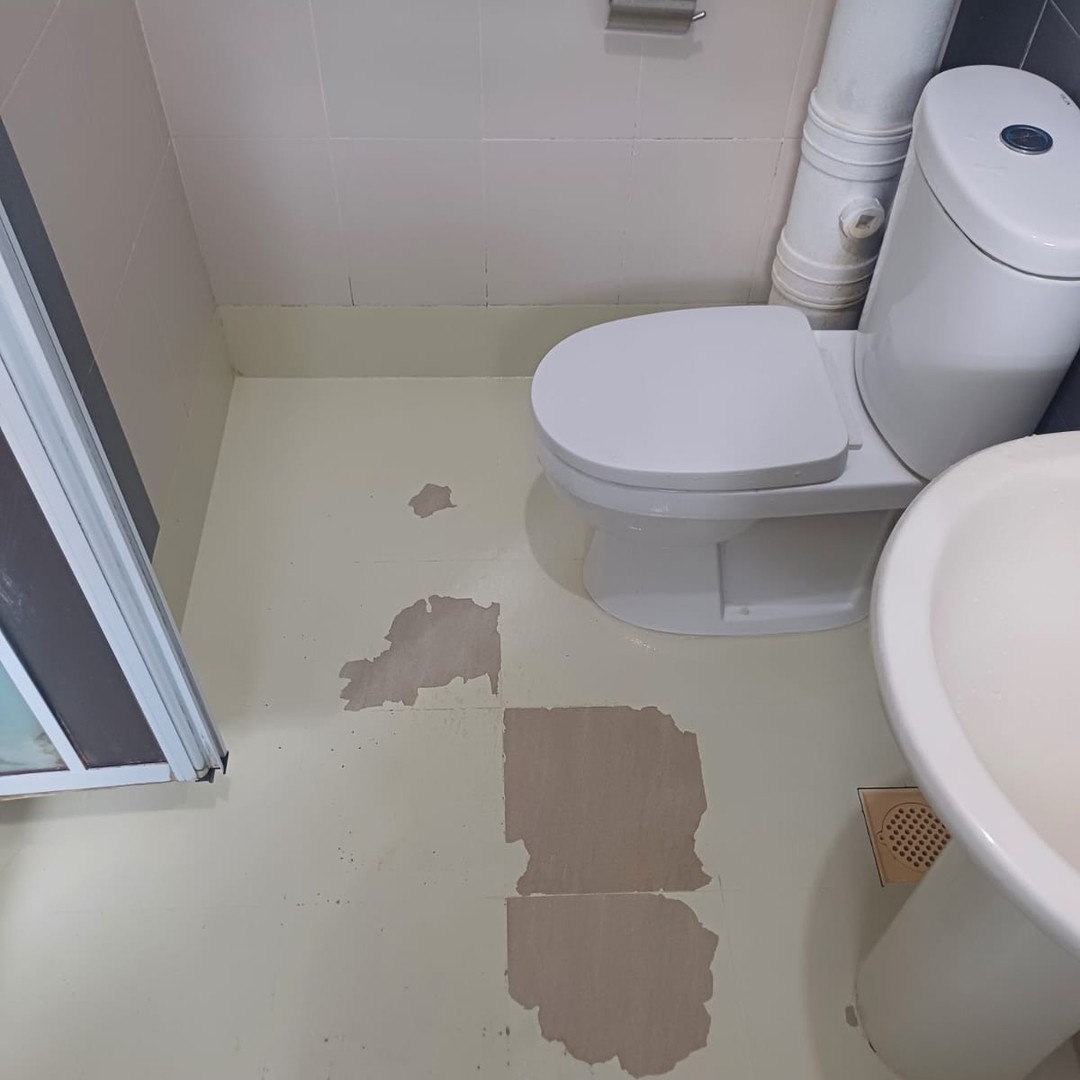
Surfaces that have been painted — whether with standard wall paint or epoxy paint — may seem like solid bases, but they aren’t suitable for overlays. Here’s why:
Painted layers can absorb moisture, especially in humid conditions, leading to hidden dampness below the surface.
Over time, moisture causes paint to flake or blister, which in turn compromises the adhesion of the overlay, making it unreliable as a base.
✅ Reality Check: Paint should be scraped off or removed before applying any overlay to ensure long-term bonding and durability.

4. Areas Behind Fixed Fixtures or Obstructions
Some areas in your home simply can’t be reached without removing built-in fixtures — and that makes them unsuitable for overlays. These include:
Spaces behind built-in carpentry (like wardrobes or cabinets)
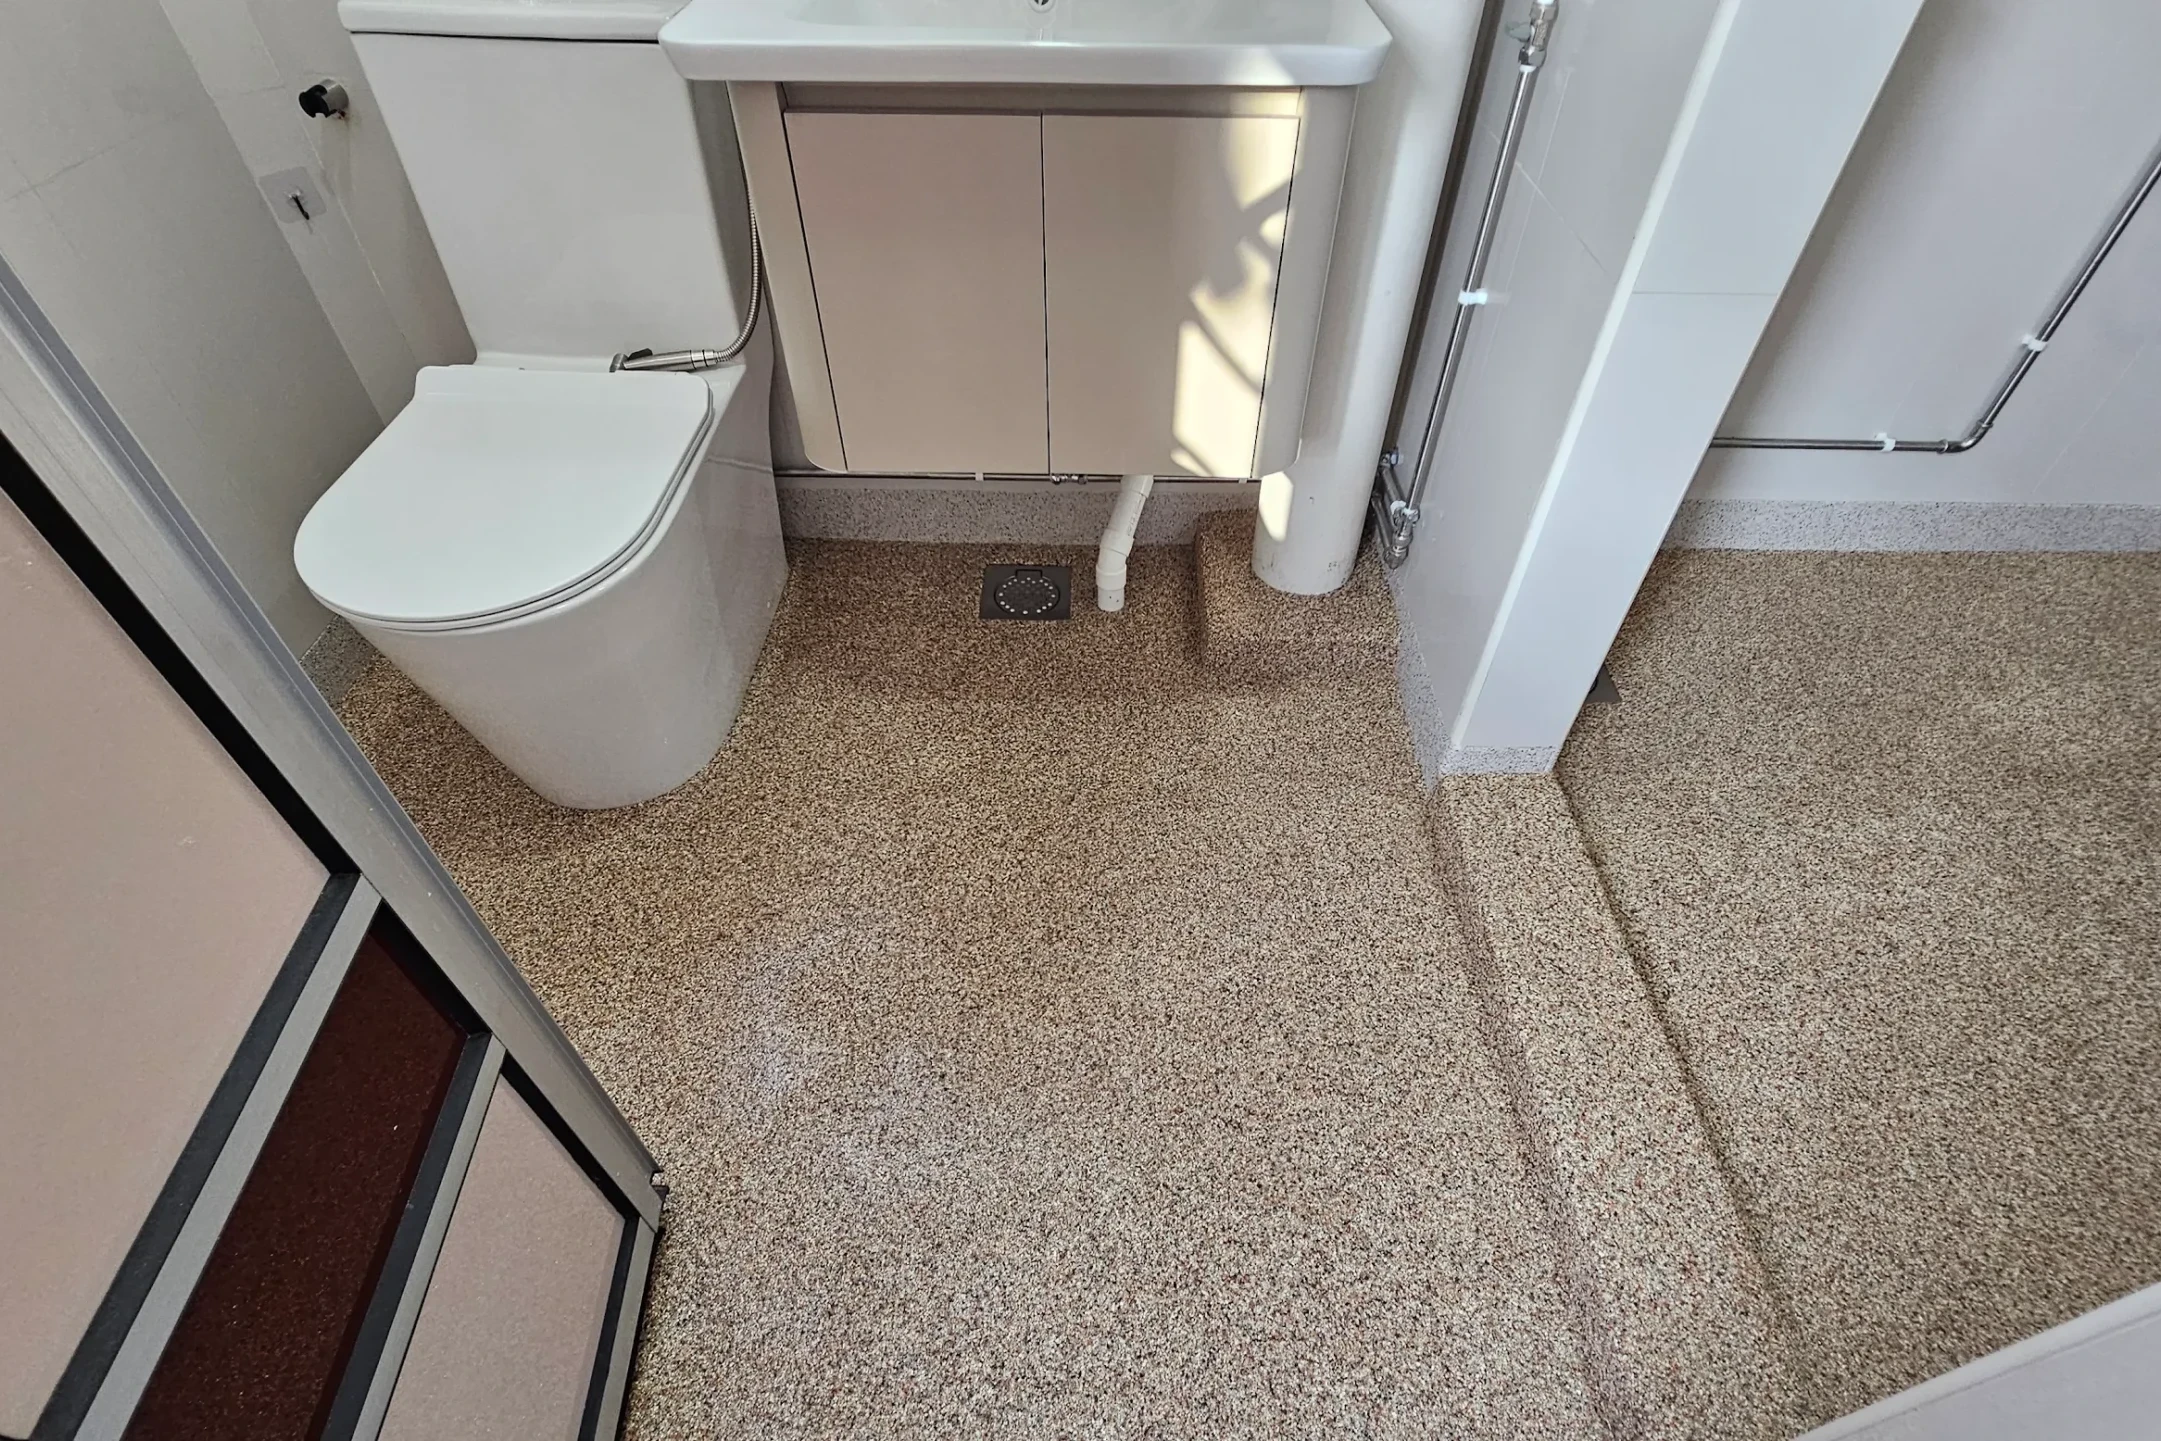
Behind toilet bowls or sanitary fittings
Behind large drainage or sewer pipes (especially in bathrooms)
Tight spaces under cabinets
✅ Reality Check: Overlays should only be applied on fully accessible surfaces. Hidden areas may require fixture removal or should be excluded from overlay works entirely, this may even help you save more cost.
However, in dry areas with minimal moisture absorption, applying an overlay on top may still be possible.
✅ Reality Check: Removal or subfloor preparation is usually needed.
Overlays are a fast, modern way to upgrade your space, but knowing where not to apply them is just as important as knowing where you can. Areas with poor access, unstable substrates can compromise the final result and longevity.
Related Posts
June 18, 2025
What is an epoxy overlay and why is it a popular choice in Singapore now?
Sticky
An epoxy overlay is a layer made from epoxy resin that’s applied over existing…
September 18, 2025
Epoxy Overlay vs Tiles in Singapore: Which Is Better for Your Home?
When renovating a home in Singapore, one of the common questions is: Should I…
June 19, 2025
PebblePro+ by Obalay: Turn Your Home Into a Sanctuary—with the Natural Touch of Pebble floor
PebblePro+ is a premium epoxy pebble overlay, made from a curated mix of…
June 18, 2025
What Is Water Ponding and What Can You Do About It?
Water ponding refers to the collection of water in some spots on the floor…
